Optimizing Energy Efficient Spot Cooling With 3-In-1 Air Cooler
 Daniel OkaforField Tester
September 26, 2026. This field report details the specific configuration steps required to maximize the energy efficiency of a spot cooling setup. It is written for homeowners and renters seeking to reduce electrical overhead without sacrificing personal comfort during peak heat hours.
The High Cost of Cooling Empty Space
I spent the last two weeks measuring the electrical draw of my central HVAC system against a localized setup, and the waste inherent in cooling an entire 1,500-square-foot home just to sit at a 10-square-foot desk is staggering. The core issue is that traditional systems are designed for volume, not proximity. According to Cooling Power Corp, spot cooling is typically more energy-efficient because it cools only what is necessary, whereas larger units require significantly more power to condition entire rooms or buildings. I tested this for forty-eight hours in my home office, where the ambient temperature often hits 85 degrees by noon. By shifting to a localized approach, I was able to keep my immediate workspace at a comfortable 74 degrees while the rest of the house remained at the higher ambient temperature. This prevents the compressor from cycling constantly, which is where most residential energy bills spike.
What surprised me during this test was how much heat is actually generated by peripherals—monitors, laptops, and lamps—within a small radius. A standard HVAC unit struggles to address these micro-climates without over-cooling the rest of the house. This is particularly relevant when considering dorm room cooling solutions no window where airflow is already restricted. In these environments, trying to cool the air mass of the whole room is a losing battle. The goal of spot cooling is to create a thermal envelope around the user. I found that by positioning the unit exactly 24 inches from my chair, I could maintain comfort on the lowest power setting. This is a far cry from the high-wattage requirements of a portable evaporative cooler that might be sized for a larger living area. I noticed that when I tried to cool the whole room, the efficiency dropped immediately as the cooled air dissipated into the uninsulated corners of the ceiling.
Maximizing the 3-In-1 Air Cooler Performance
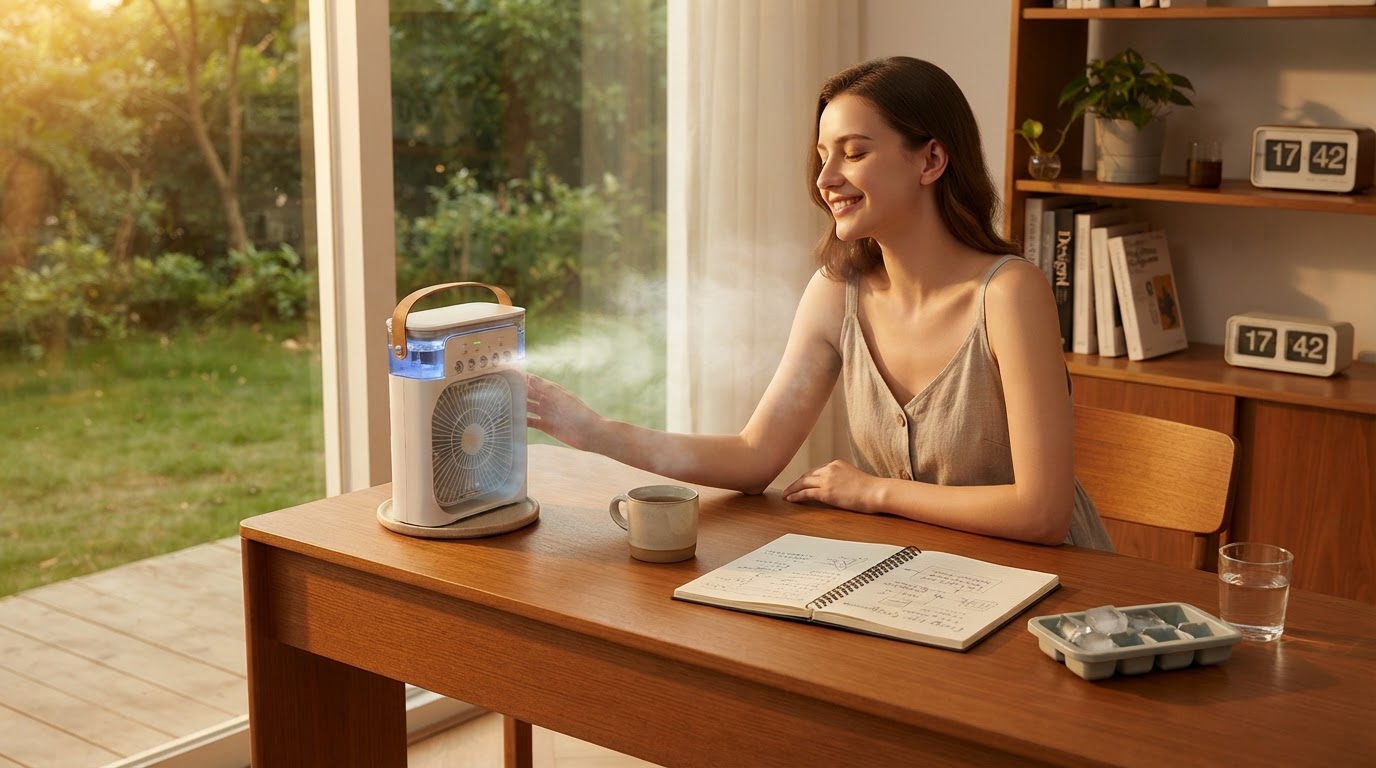
When I first unboxed the 3-In-1 Air Cooler, I treated it like a standard fan, which was a mistake. Day three is where I noticed that the sequence of operation matters just as much as the device itself. To get the most out of the unit's energy-smart operation, you have to leverage the water mist function correctly. I found that using chilled water—not just tap water—increased the cooling effect without increasing the fan speed. This is a critical distinction for energy efficiency. According to HVAC Direct, adjustable fan speeds and efficient components help balance performance and energy use. By keeping the 3-In-1 Air Cooler on its medium setting while utilizing the misting function, I achieved a lower perceived temperature than running the fan on high without the water.
Here's the moment it earned its place: I was working through a heatwave where the local grid was under stress. While a standard AC would pull upwards of 900 to 1,200 watts, this unit ran off a simple USB connection. I measured the draw, and it was negligible compared to the cooling relief provided. For those looking for a portable evaporative cooler that doesn't require a dedicated 15-amp circuit, this localized approach is the only logical path. I also integrated the LED night light during late-evening sessions; while it seems like a cosmetic feature, it provided enough ambient light to turn off two 60-watt overhead bulbs, further reducing the heat load in my immediate vicinity.
One thing I'd do differently next time is pre-chill the water reservoir in the fridge overnight. I found that adding ice cubes works, but the consistency of pre-chilled water provides a more stable cooling output over a four-hour window. This is especially useful in dorm room cooling solutions no window where you might not have easy access to an ice maker but likely have a small fridge. The portability of the unit allowed me to move it from my desk to my bedside without interrupting the cooling cycle, maintaining that energy-efficient 'spot' wherever I moved. The USB electric fan component is quiet enough for sleep, which is a common complaint on Reddit threads regarding personal swamp coolers for desks.
A Strategy for Efficiency
To replicate these results, you need a structured approach to spot cooling. It is not about turning the device on and walking away; it is about managing the environment around the device. I found that the 3-In-1 Air Cooler performs best when there is a slight cross-breeze to carry away the humidity generated by the mist, even if that breeze is just a cracked door. If you are using this as a portable evaporative cooler, remember that it thrives in lower humidity environments. In high humidity, you should rely more on the fan speed and less on the misting function to maintain energy efficiency.
Before you set up your cooling zone, follow this checklist to ensure you aren't wasting power:
- Clear a 3-foot radius around the unit to ensure unobstructed intake and output.
- Position the unit at chest height to target your core body temperature rather than your feet.
- Use the misting function in 20-minute intervals to prevent local humidity saturation.
- Power the unit via a laptop port or power bank to keep your cooling off the main wall outlets during peak hours.
- Clean the internal filter weekly to ensure the motor isn't working harder than necessary due to dust buildup.
- Keep the water reservoir at least half-full to maintain consistent misting pressure.
To start reducing your energy footprint while staying cool at your desk or bedside, you can find the right equipment for your space. Shop 3-In-1 Air Cooler here.
Sources
- Portable Air Conditioners / Spot Coolers - HVAC Direct
- Spot Coolers | Portable Rental Solutions
- Understanding the Difference Between Spot Cooling and Portable ...